The Greatest Way of Growing Galangal
Belonging to the same family as ginger; Galangal is a root seasoning that is commonly used in Thai cooking, as well as in ornamental landscaping, and as a medicinal digestive aid.
Galangal requires very specific soil and environmental conditions to grow outdoors but grows easily in large containers. Galangal’s large size when fully grown requires that it have enough space to grow and flourish, making it ideal for privacy screening.
What is Galangal?
Native to Java and commonly used in Thai cuisine, Galangal, which is pronounced guh-LANG-guh, is a root seasoning that is directly related to Ginger. Although these two cousins may look similar in appearance and fall into the same family, they are not interchangeable; since the flavor of the galangal root is much more pungent and spicy than ginger.
Besides having a significantly stronger flavor pallet than ginger, galangal is also much more fibrous, tough, and dense than its look-alike. You can tell the difference between ginger and galangal by the color galangal is more transparent and a shade or two lighter than ginger.
Where to Grow Galangal
Galangal is best suited for planting in shaded open areas in warmer climates as it’s a tropical plant and is extremely sensitive to frost and drought conditions. Besides being sensitive to whether conditions this plant will rot easily when left exposed to cold, wet conditions.
When it reaches maturity, this plant has the potential of reaching between three and six feet tall. You will want to provide enough space between plants to accommodate their height and bushy nature.
Soil Conditions
According to Urban Harvest, it’s important to remember that galangal as with all ginger root varieties requires the proper soil with adequate drainage to prevent them from rotting. That’s why you should wait to plant until the ground temperature has warmed and the soil is moist, but not wet.
Galangal prefers soils that are rich in organic matter such as sandy loam. This type of soil provides the thick roots with space to grow while allowing water to properly drain so that the roots are not left sitting in standing water which promotes root rot.
For the best results use this plant as foliage along landscape ridges or create planting ridges as you plant it to insulate the root ball from external temperature variances.
Depth and Spacing
These large plants grow well when planted along ridges and must be buried 3 to 5-inches below the surface of the soil, with about 12-inches between each plant, according to SFGate Home Guides. Providing enough space for the root ball to develop completely is vital to keeping your plant strong and healthy.
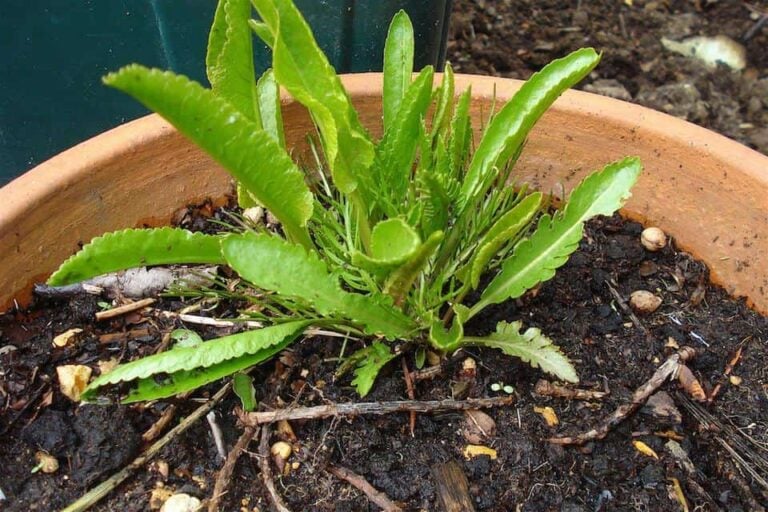
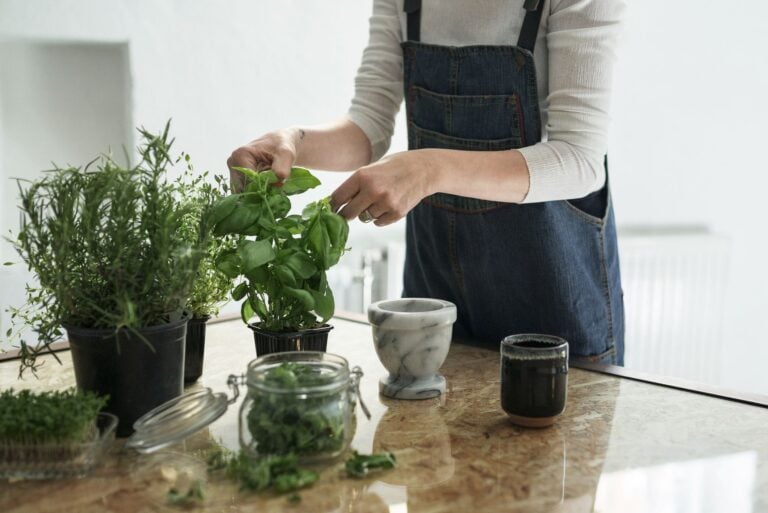
Container Planting
These ornamental plants work well in containers, but you must plant them in large containers to allow the root structure room to grow. Start with root sections that are approximately 3-inches long and then plant them in a container that’s at least 12-inches in diameter and be prepared to transplant them into a larger container once they get fully grown.
One way to manage your container galangal is to regularly prune vegetation, and harvest excessive root growth maintaining the plant’s ability to expand without having to be completely transplanted. Check out the video below for to see how container planted Galangal looks throughout the growing stages.
Watering Galangal
As a tropical native, Galangal requires moist, but not wet soil. Do not let the soil dry out completely for long periods of time. Doing so will cause your plant’s roots to become fiber-ish and tough, inhibiting its growth both above ground and below.
With that said, do not over water these root ball based plants either, as too much standing water will cause rot issues and kill or severely damage your plant.
Harvesting Galangal
To harvest galangal, you will want to use a pitchfork instead of a shovel to avoid damaging the roots. Start by loosening the soil around the root ball, and then position the fork beneath the root ball and lift. Doing this will remove the entire plant. See the below video for a visual guide.
Once you have dug up the plant, carefully separate the root ball into sections. To continue growing, select the healthiest looking sections and replant them into the prepared soil.
For the roots that you plan to harvest, rinse them thoroughly, remove tops and mini-roots, and then store. The best way to store this root is by wrapping it in a damp cheesecloth and then in plastic wrap and sticking it into the freezer. According to the Washington Post, it will store in the freezer for up to three months.
Uses for Galangal
Landscaping and Decorative Planting
The long leaves that get to about 10 to 13 inches long create a look similar to ornamental grass which makes it good for planting in areas that need shade tolerant landscaping features, or as an indoor container plant.
In warmer or more tropical areas, galangal works well as a privacy barrier or fence line hedge due to its large size and bushy appearance.
Cooking
As with its cousin ginger, galangal works well in cooking and is used as the main ingredient in many types of Thai cuisine, especially curries. The more peppery flavor of galangal than its cousin provides a stronger more intense flavor pallet when added to dishes such as stir fry, soups, and curries.
However, the much tougher and dense root structure make galangal inferior to ginger for uses in salads, desserts, and raw cooking options.
Medicinal
According to Natural Remedies, galangal has been used for centuries in Chinese medicine as a remedy for indigestion and nausea as well as a preventative medicine for vomiting.
Cold Climate Winterizing
Even though it is best to harvest your remaining galangal roots during the early winter to prevent rotting, you can leave a few hands, (what the roots are referred to as) in the ground over the winter as long as you heavily mulch the entire area to keep them warm and dry.
To do this, you will want to remove the galangal tops and mark the area where you have planted your winterized galangal roots. Marking the area ensures that you will not damage the roots with shoveling next spring while removing the tops prevents molds and fungus from entering the roots via the stems of the plant.
Photo by Eric Chan W.C. licensed as CC-BY-SA-3.0
.jpg)